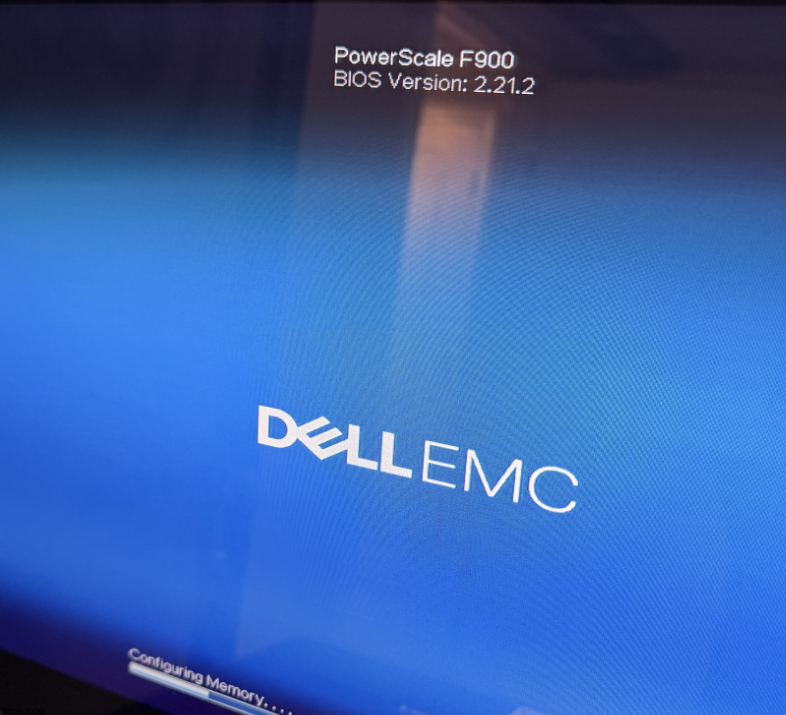
Snagged a Dell PowerEdge R740XD on eBay—turns out it’s actually a rebranded Dell PowerScale F900 node with custom firmware and branding! The chassis still reads PowerEdge R740XD, though, so I dove in to revert it back to full Dell PowerEdge R740XD.
To change the system branding from Dell PowerScale F900 to Dell PowerEdge R740xd, you must replace the node’s Identity Module (IDM). Standard BIOS flashes will not remove the “PowerScale” string because the branding is stored in a protected area of the iDRAC/Lifecycle Controller.
Procedure
1. Obtain the Identity Module
You need the OEM Ready Identity Module for the 14G platform (R740xd).
- Download here from Dell Support Site for “OEMR R740xd Identity Module”.
- Download the Windows Update Package (DUP) version, which usually has “CustBSU” in the filename (e.g.,
4XHVW_14G_DBE_CustBSU_3_00.exe). - Extract the
.pmfile from the downloaded.exeby running it on a Windows machine; this.pmfile is the actual branding payload.
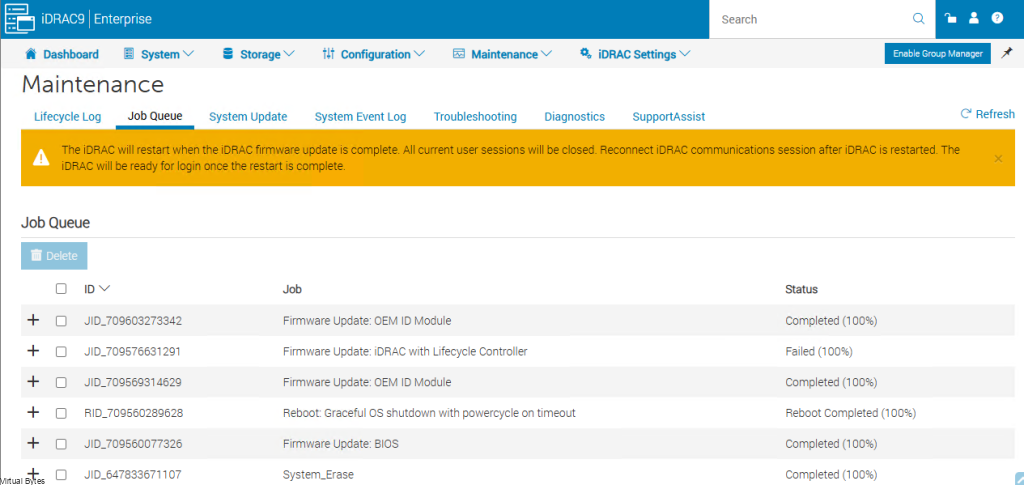
Notice: Below you see that I tried to upgrade the iDRAC to the latest version but it wouldn’t let me due to the PowerScale F900 series wanting a specific version.
2. Apply the Branding via iDRAC
- Login: Log in to the iDRAC Web Interface.
- Upload: Go to Maintenance > System Update. Select Local and browse to the extracted
.pmfile. - Install: Click Upload, then select the file in the “Update Details” list and click Install and Reboot.
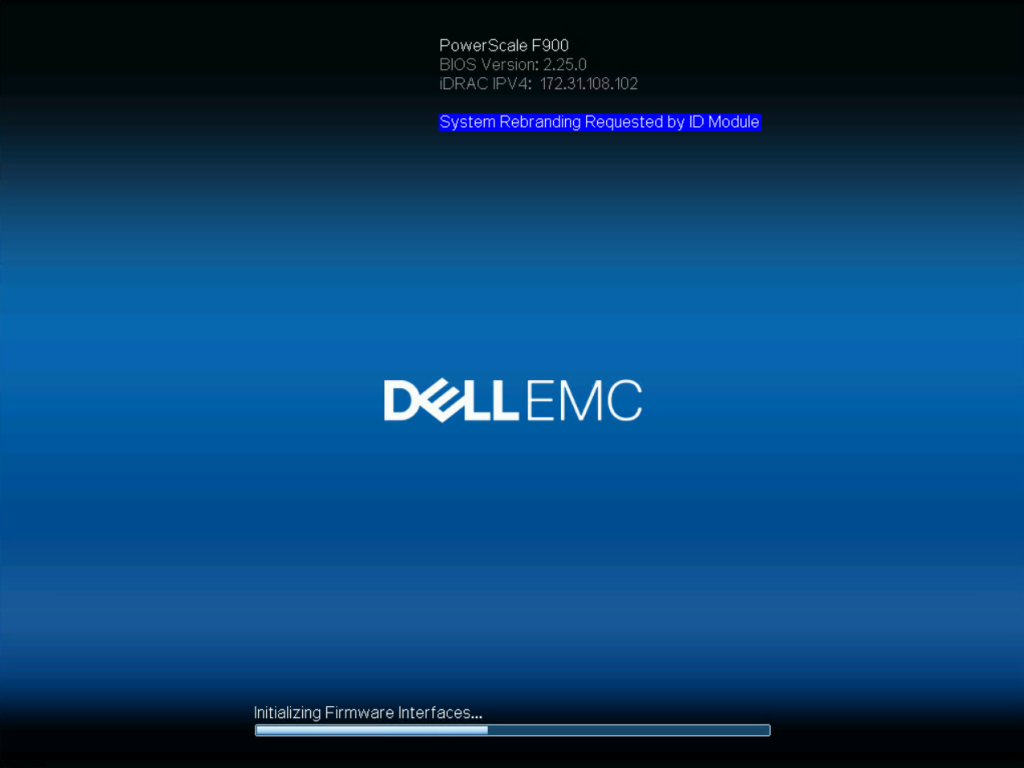
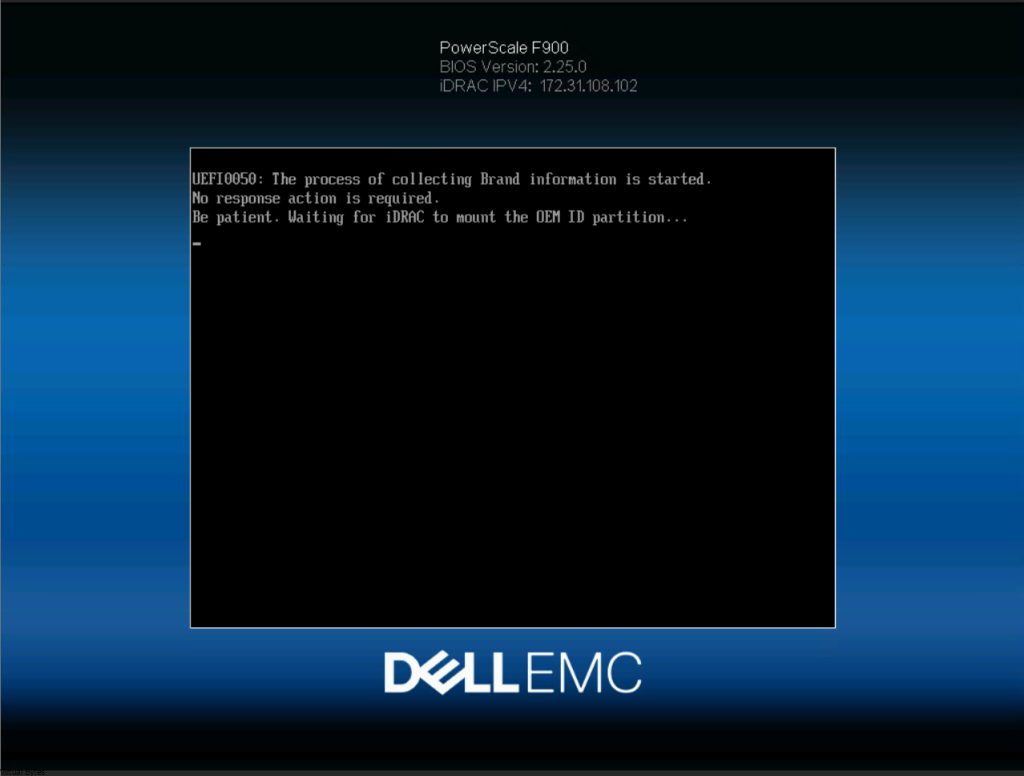
- Verification: During the next reboot, you will see a “Modifying Branding” message on the POST screen. Once finished, the system will identify as a standard PowerEdge R740xd.
Branding in Collecting Brand Information
Branding in Process / Copying Files
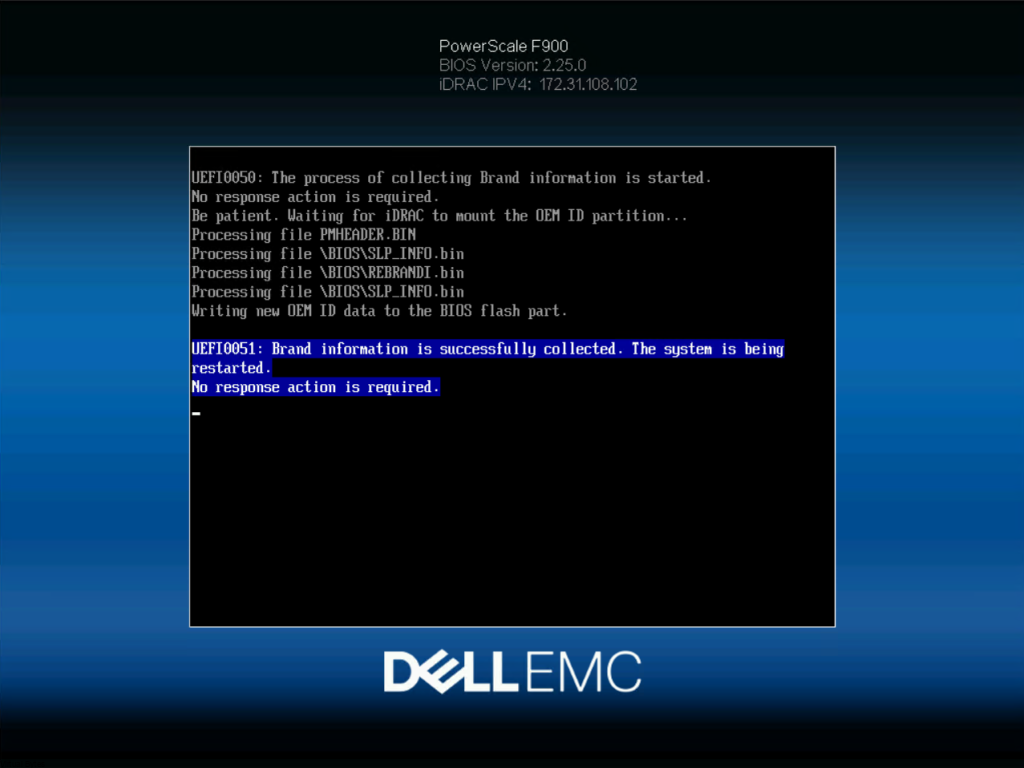
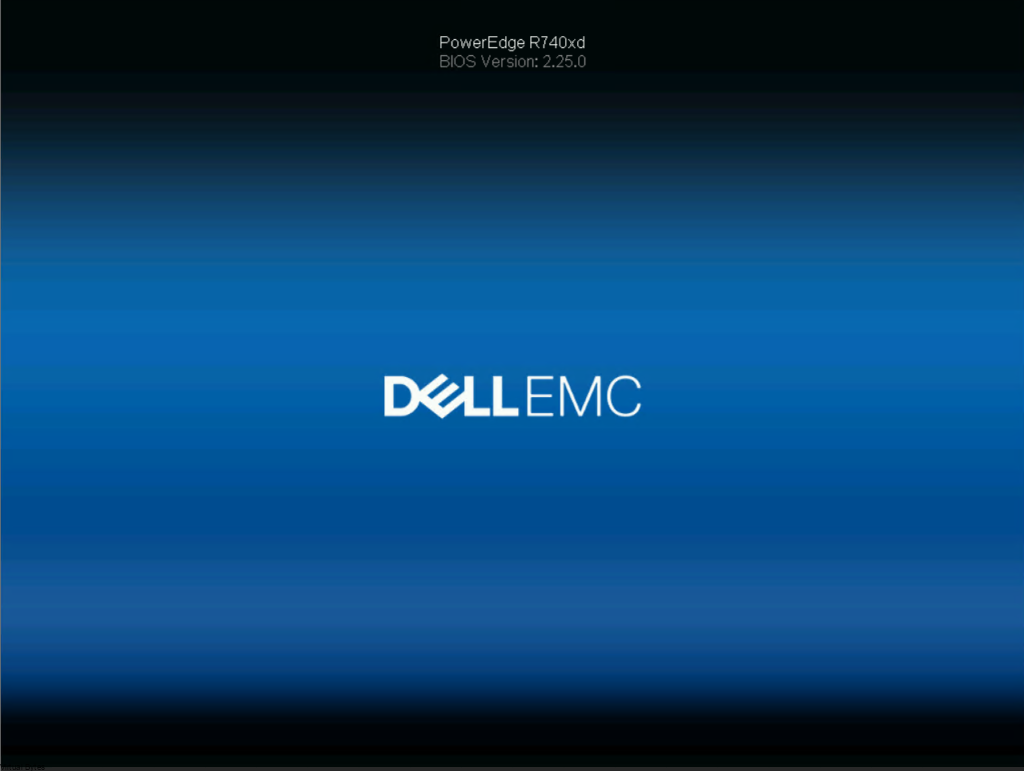
Now you will see the server be rebranded back to a normal Dell PowerEdge R740XD
3. Reset iDRAC to Factory Defaults
After the branding task completes, you must reset the iDRAC to ensure the new personality is fully adopted.
- Go to Maintenance > Diagnostics > Reset iDRAC to Default Settings.
- Note: This will reset your iDRAC IP and credentials to the factory defaults (e.g., DHCP and
root/calvinor the Secure Password on the pull-tag).
4. Final BIOS Update
Once the branding is changed, you can now use the standard R740 BIOS.efi file via the USB method described previously without encountering “System Mismatch” errors.
This official Dell driver and community forum thread provide instructions and user experiences for rebranding Dell OEMR 14G servers:
5. Clear the NVRAM (The Deep Clean)
Since you cross-flashed, there may be “ghost” settings from the F900 firmware stuck in the NVRAM that are telling the BIOS to use a specific OEM display profile.
The Soft Method: In the BIOS (F2), look for an option to Restore Settings to Default. This is less effective than the jumper but easier.
The Jumper Method: Shut down the server, locate the NVRAM_CLR jumper on the motherboard (usually near the PCIe slots), move the jumper to the clear position, power on until the BIOS tells you it’s cleared, then shut down and move the jumper back.
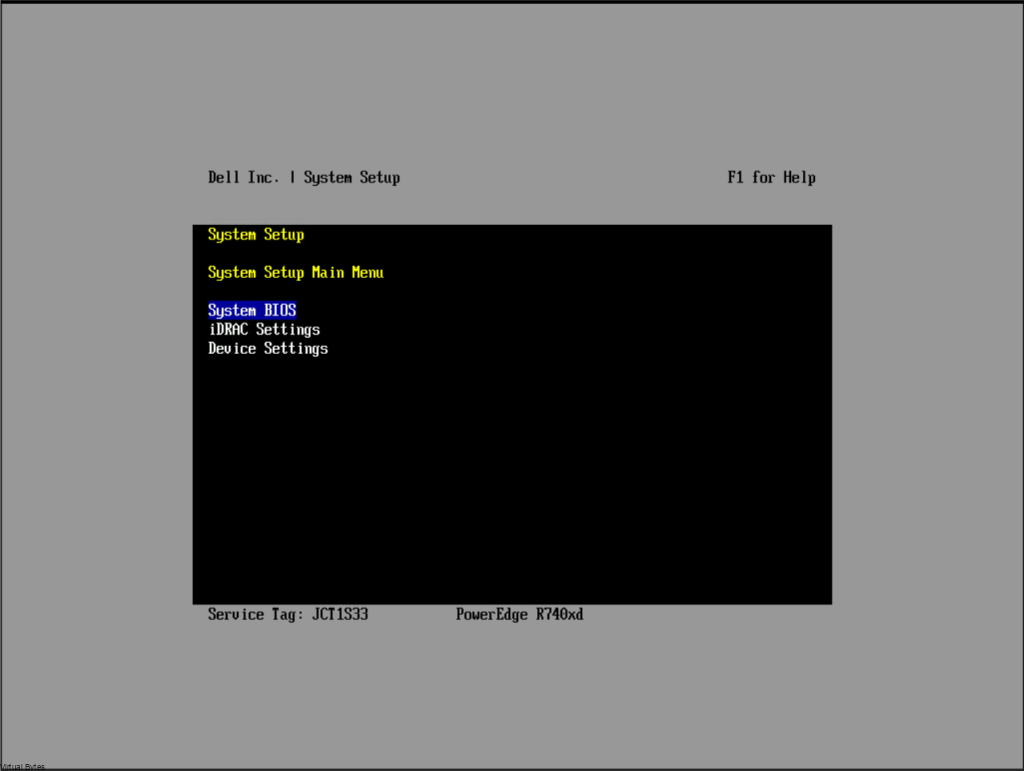
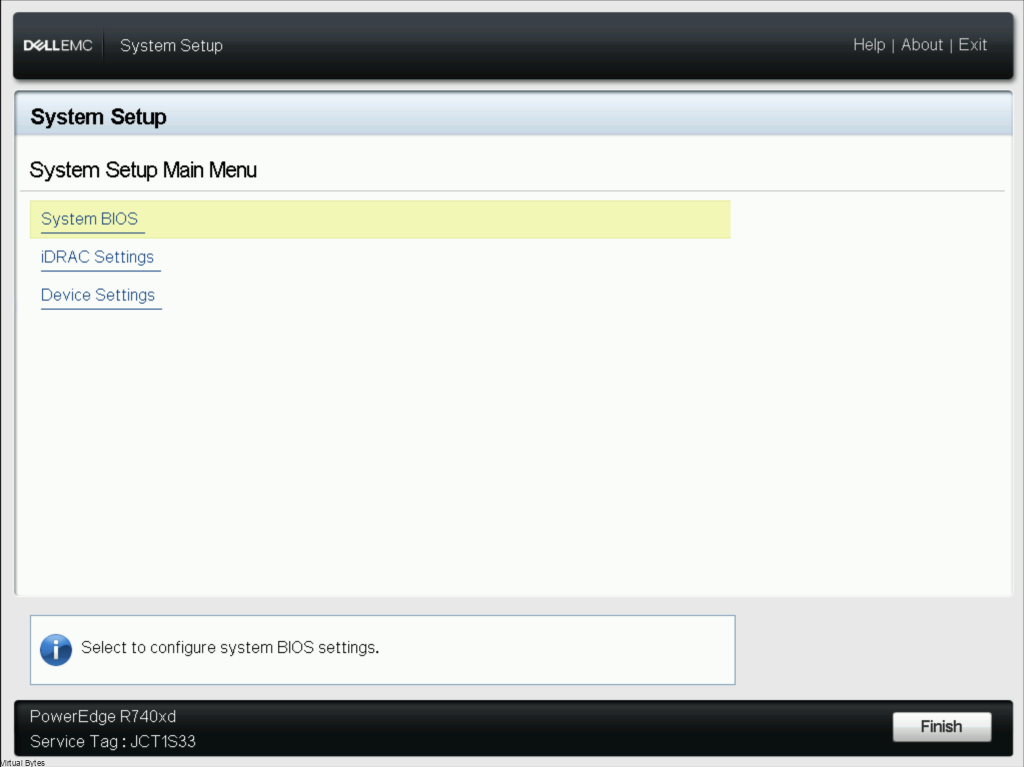
After you finish the NVRAM Clear, and you boot back the server you will see that it is finally a normal clean GUI for the BIOS!
Additional Information
If the Lifecycle Controller (LCC) option is missing from the iDRAC Settings menu in your BIOS, it usually means the LCC has been “de-provisioned” or disabled at a deeper level during its time as a PowerScale node.
You can force it back on using a RACADM command from a remote machine or the iDRAC SSH interface.
1. Enable via RACADM
Use the following command to re-enable the LCC. If you are using the iDRAC SSH, you can omit the -r, -u, and -p flags.
Command:racadm set LifecycleController.LCAttributes.LifecycleControllerState 1
0= Disabled1= Enabled (This is what you want)2= Recovery Mode
2. Verify and Reset
After running the command, check the status:racadm get LifecycleController.LCAttributes.LifecycleControllerState
If it returns 1, reboot the server. The “F10 = Lifecycle Controller” option should now appear in the top-right corner of the Dell splash screen, and the menu should reappear in the F2 BIOS settings.
3. If it still doesn’t appear (The “Flea Power” Drain)
Sometimes the iDRAC registers the LCC as “available” but won’t display the GUI until a hard hardware reset occurs.
- Shut down the server.
- Unplug both power cables.
- Hold the Power Button for 20–30 seconds to drain the “flea power”.
- Plug it back in, wait 2 minutes for the iDRAC to initialize, and then power on.