Building a VMware Cloud Foundation management domain in a lab is a long list of small jobs before the real one starts. Mount an ISO on every iDRAC, install ESX, set hostnames, DNS, NTP and SSH on each host, regenerate certificates, deploy the VCF Installer, point it at a depot, download bundles, write a bring-up spec by hand, fix whatever validation complains about, and then wait. Every one of those steps is easy. Doing all of them, in order, without a typo, every time you rebuild the lab, is not.
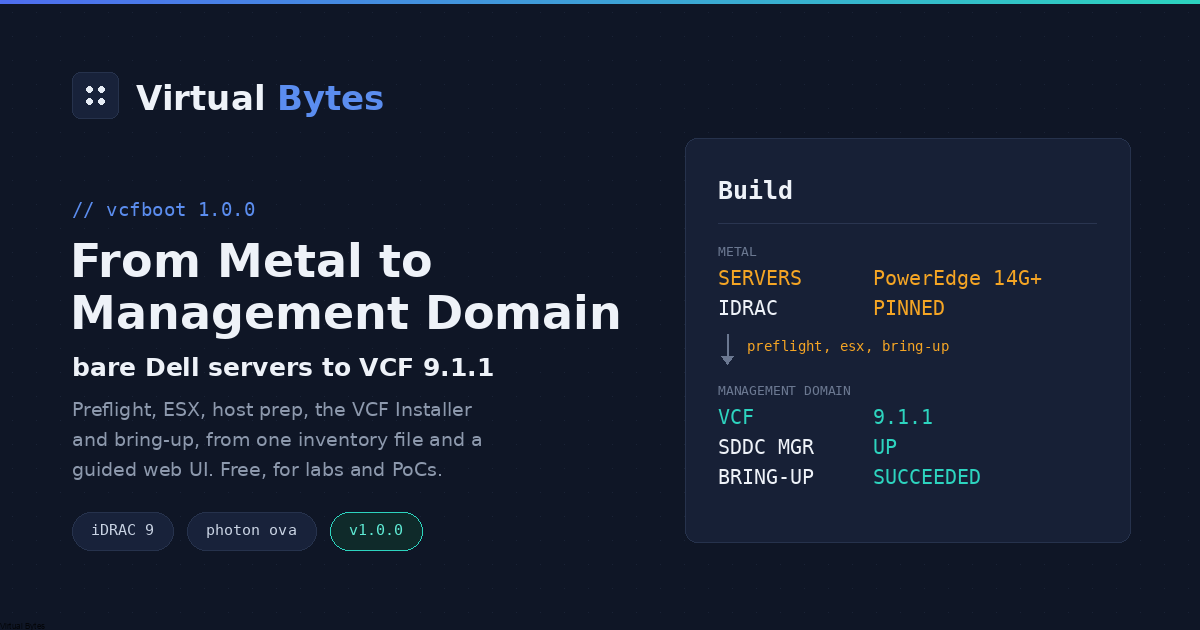
So I wrote vcfboot. It takes bare Dell PowerEdge servers to a VCF 9.1.1 management domain from one inventory file, and today version 1.0.0 is out as a free appliance.
For labs and proofs of concept, not production. vcfboot is a Virtual Bytes project. It is not affiliated with, endorsed by or supported by Broadcom (VMware), Dell or Microsoft. Installing ESX erases disks, so point it only at servers you mean to rebuild.
What it does
vcfboot drives the whole path from powered-off servers to a running management domain. Each step can also be run on its own:
- Preflight. Reads every server through its iDRAC over Redfish: model, CPUs, memory, boot device, NVMe disks and network ports. It checks them against what VCF needs before anything is changed.
- ESX install. Builds a per-host ISO from your ESX installer with a kickstart and mounts it as iDRAC virtual media. Nothing else in the image is changed.
- Host prep. Sets each host up the way the VCF Installer validates it (hostname, DNS, NTP, SSH and a certificate that matches its name), then checks it again.
- VCF Installer. Deploys the installer appliance, configures the depot with your Activation Code or an offline depot, and downloads the bundles.
- Spec and bring-up. Renders the bring-up spec from the inventory, validates it, and runs bring-up on vSAN ESA or NFS storage, following it through to the end.
- Optional domain controller. If your lab has no DNS or NTP yet, vcfboot answers both itself. After bring-up it builds a Windows Server domain controller that takes them over.
After bring-up it can also install and prepare more hosts, and gives you a checklist for commissioning them in SDDC Manager.
Guided setup
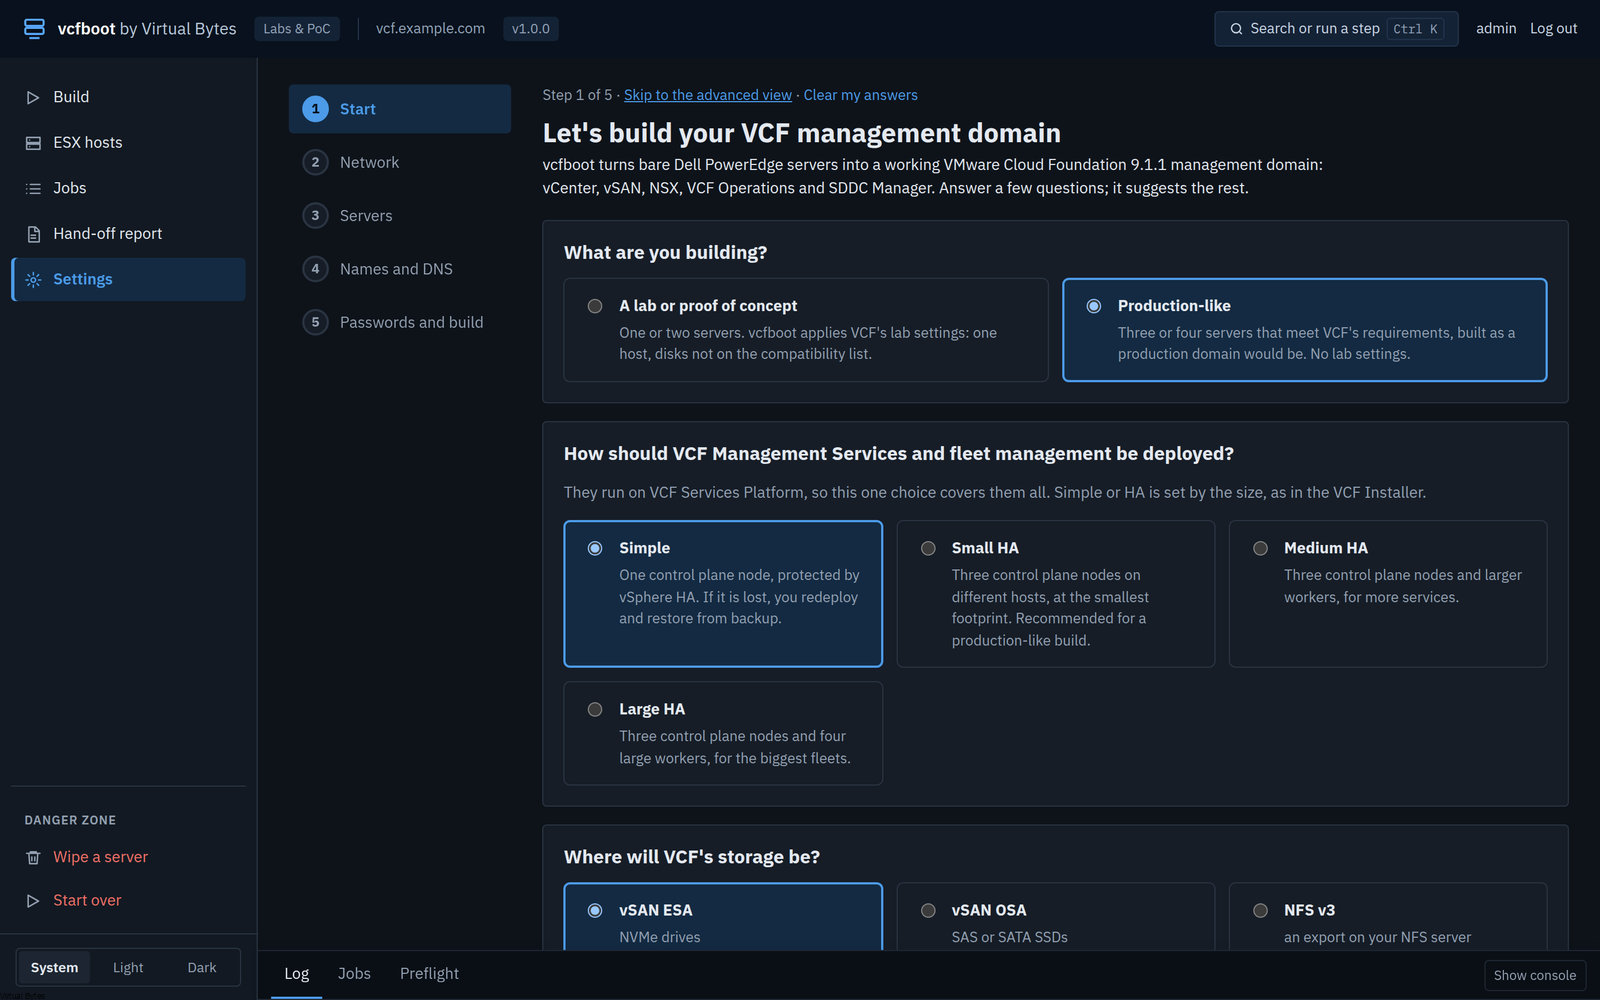
You don’t need to know the bring-up spec to use it. On first login the guided setup asks five screens of questions in plain words and suggests the rest:
- Start. A lab build (one or two servers, VCF’s lab settings) or a production-like one (three or four servers, built as a production domain would be). You also choose existing DNS and NTP or a domain controller that vcfboot builds.
- Network. Domain, DNS, NTP and the management network. vcfboot suggests the vMotion, vSAN and overlay networks, then tests every DNS and NTP server and gateway from the appliance.
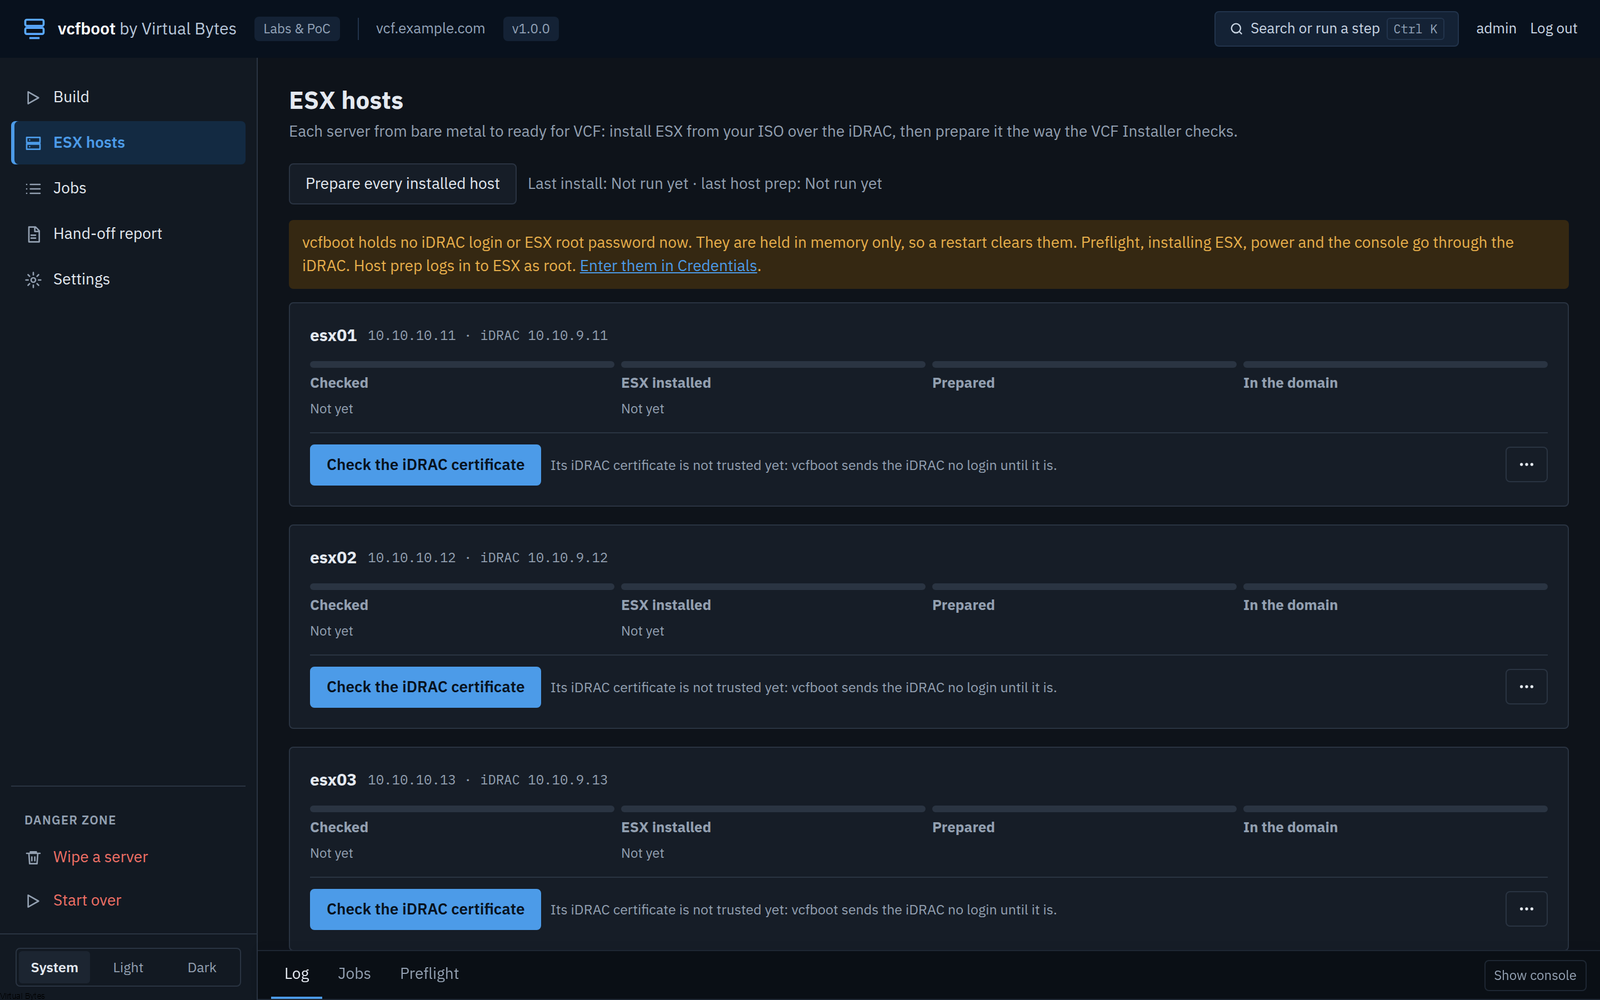
- Servers. Type each iDRAC address. vcfboot shows the iDRAC’s certificate fingerprint first and sends the login only after you trust it. Then it reads the server and runs its checks.
- Names and DNS. Suggests every appliance’s name and address and checks each against DNS (A and PTR records) and the network. For any records that are missing, it gives you ready-to-paste Windows DNS PowerShell or BIND lines.
- Passwords and build. One VCF password, your media, the depot, and a box confirming that the boot and vSAN disks will be erased.
One build page
When you press Build my VCF domain, the Build page runs every stage in order. It shows a pipeline, the stack being built from hardware up to SDDC Manager, and bring-up’s milestones as they happen. The build stops only where it needs you:
- the confirmation to erase disks, for hosts that still need ESX;
- the Activation Code, shown next to the installer’s machine ID;
- validation warnings, each with its own Accept box.
You can answer the warnings you expect before the build starts, then walk away. If something fails, Try again skips what is already done. A failed bring-up is retried from the failed task rather than started over. At the end you get a hand-off report.
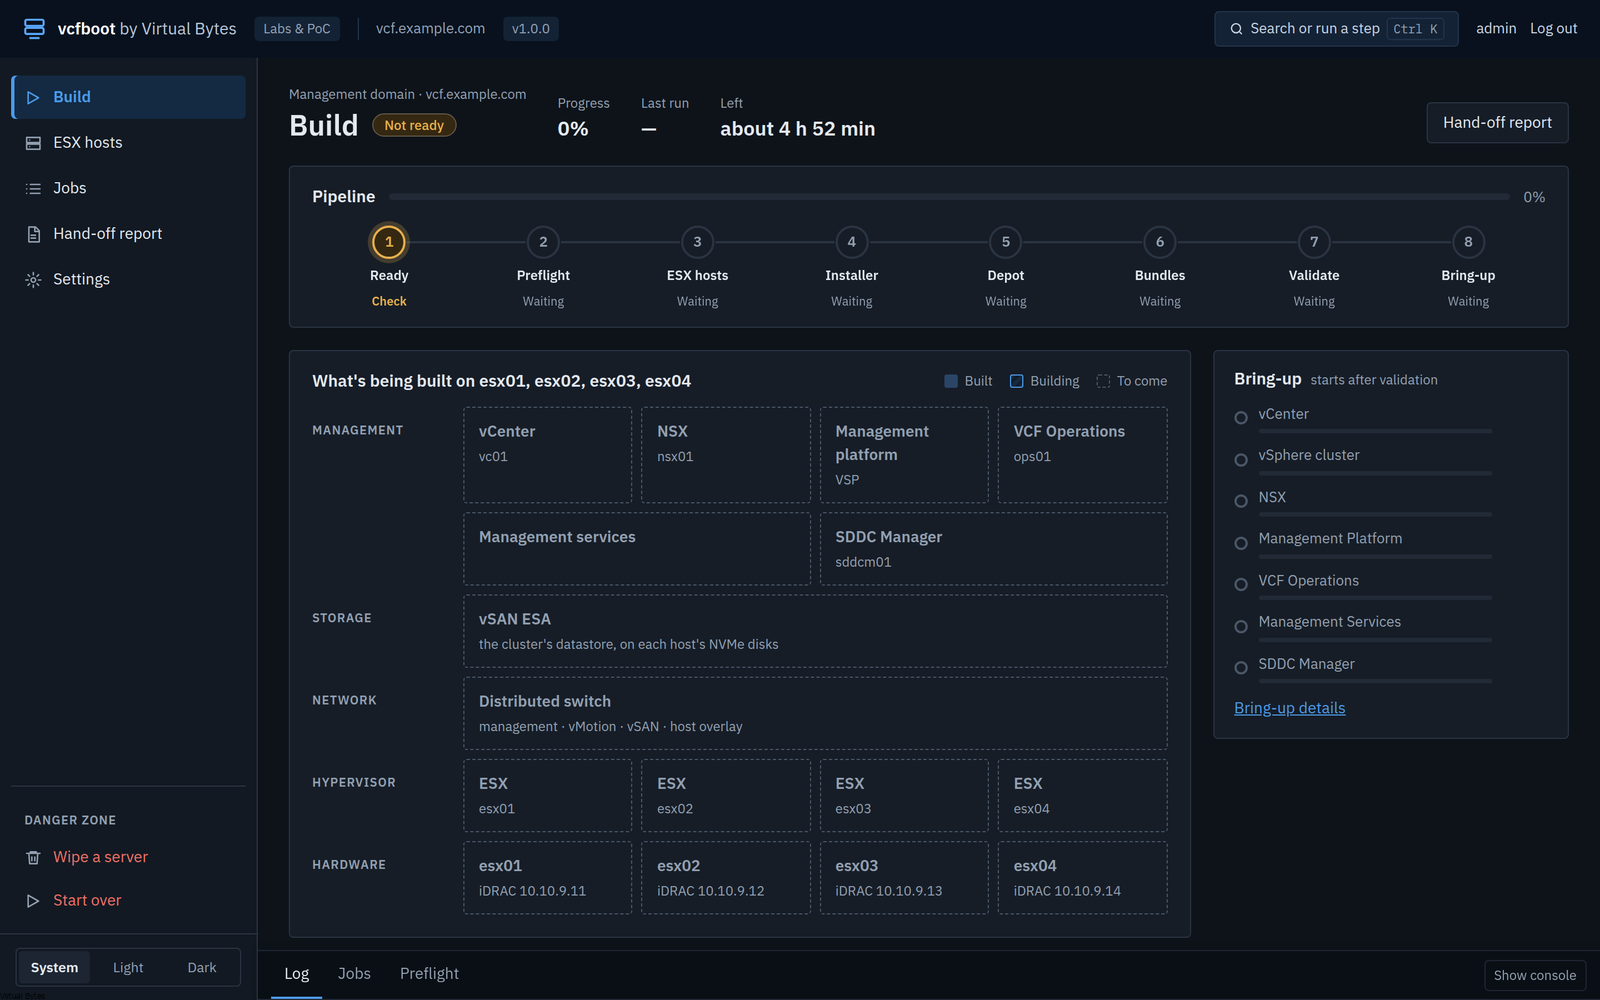
For planning, the page estimates about 18 minutes of ESX install per host, about 20 minutes of bundle download and around three hours of bring-up. Your hardware and depot will move those numbers.
It holds the keys, so it is careful with them
A tool like this ends up holding every password in the site, so a lot of 1.0.0 went into handling them carefully:
- Passwords live in memory only. iDRAC, ESX root and VCF passwords are never written to disk.
- Every endpoint is pinned. Credentials go only to an iDRAC, host or appliance that presents the certificate vcfboot has pinned. The installer’s certificate changes during bring-up, and vcfboot accepts the new one only if it chains to vCenter’s pinned VMCA root.
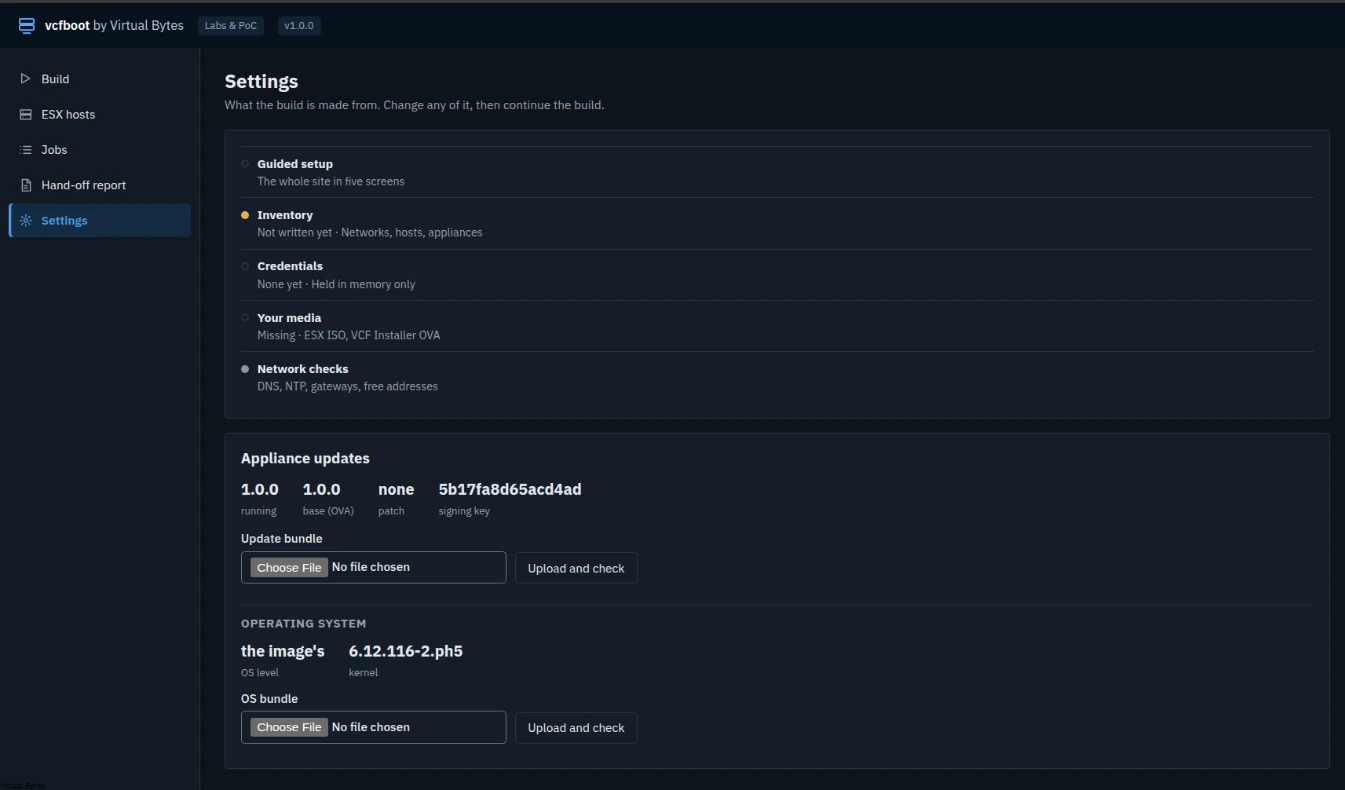
- Signed updates. The appliance takes update bundles signed with the project’s Ed25519 key, from Settings › Appliance updates, without a redeploy.
- Tested. The appliance went through a security test before release, and every finding was fixed before 1.0.0.
Supported hardware
vcfboot 1.0.0 works with Dell PowerEdge servers of the 14th generation or newer (iDRAC 9 and later) and VCF 9.1.1. That covers 14th-generation servers such as the R640 and R740xd, and newer ones such as the R650, R750, R660 and R760. I built and tested it on the R640 and R740xd. ESX 9.1 calls Skylake CPUs unsupported, so vcfboot installs on them only in lab mode; Cascade Lake is the supported floor.
Coming soon: HPE iLO. Support for HPE ProLiant servers through iLO is on the way, so vcfboot can take HPE servers to a VCF management domain the same way.
Getting started
Bring your own media
The appliance ships no Broadcom, VMware or Microsoft software. You supply:
- the ESX 9.1.1 installer ISO;
- the VCF Installer OVA;
- your VCF Activation Code, or an offline depot;
- for the optional domain controller, a Windows Server 2025 ISO and its licence.
Deploy the appliance
Download the OVA from the GitHub release and check it:
sha256sum -c vcfboot-1.0.0.ova.sha256Deploy it with Deploy OVF Template in vCenter, or with govc import.ova. The wizard asks for an FQDN, an address and gateway (or leave the address empty for DHCP), DNS and NTP servers, and an admin password of at least 12 characters. The VM is small: 2 vCPUs, 4 GB of memory and a thin-provisioned 200 GB data disk for your media. The appliance must be able to reach the iDRACs and the management network. On Workstation or Fusion, set the same values as guestinfo.vcfboot.* keys in the .vmx file before the first power-on.
After the first boot, log in on the console as admin and change the password, so the copy vCenter keeps in the VM’s vApp properties is no longer the real one:
sudo vcfboot-passwdThe console shows the UI’s address and the SHA-256 fingerprint of its certificate; check it against what your browser shows. Then browse to https://<appliance>, log in as admin, and the guided setup opens. Upload your media and follow the screens.
Download
vcfboot is free and MIT licensed. The OVA, its checksum and the list of OS packages it contains are on the GitHub release, and the repository’s README walks through deploying it.
Found a bug, or ran it on hardware I haven’t? Open an issue on GitHub. Please report security issues privately through the repository’s Security › Report a vulnerability instead.
VMware, VMware Cloud Foundation, VCF, ESX, vSAN, vCenter and NSX are trademarks of Broadcom. Dell, PowerEdge and iDRAC are trademarks of Dell Inc. Windows Server is a trademark of Microsoft. vcfboot is not affiliated with, endorsed by or supported by Broadcom, Dell or Microsoft.